
Wix Answers Help Center
Creating a New Macro
Create a macro to allow agents to perform a series of actions on a ticket with just one step. Once you've created a macro, agents can apply it to tickets to do several things at once.
For example:
You can create a macro that sends a saved reply, links an article, and assigns a ticket, all in one step.
To create a new macro:
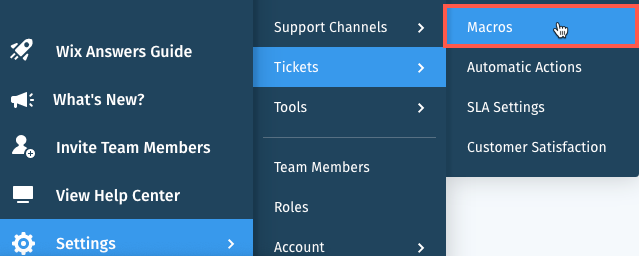
- In the Wix Answers app, go to Settings > Tickets > Macros.
- Click + Create Macro.
- Enter a name and description for the macro.
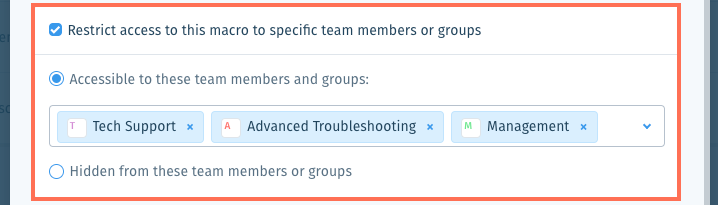
- (Optional) Click the Restrict access to this macro to specific team members or groups checkbox to specify who can use the macro. Choose an option:
- Accessible to these team members and groups: Select the team members and/or groups that will be able to use the macro.
- Hidden from these team members or groups: Select the team members and/or groups that will not be able to use the macro.
- Click + Create Macro.
- Enter a name and description for the macro.
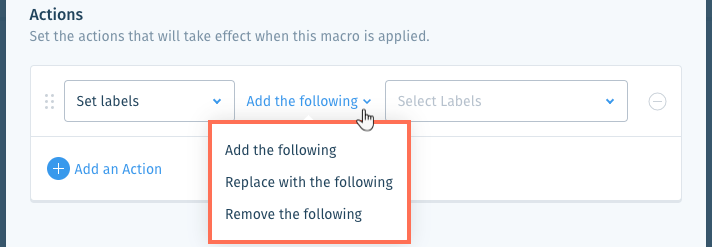
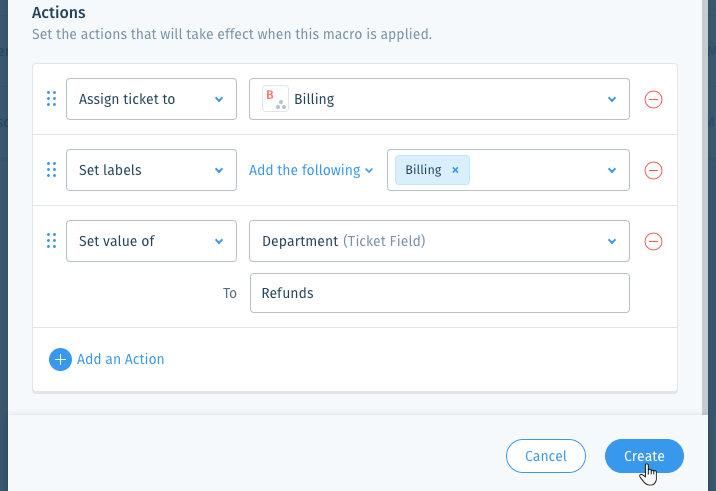
- Create the action(s) that will occur on a ticket when an agent applies the macro:
Set labels
Set priority to
Set status to

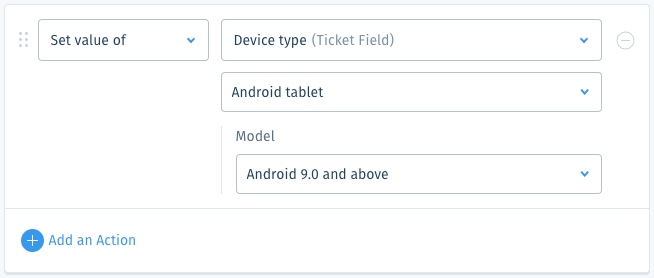
Set value of custom field
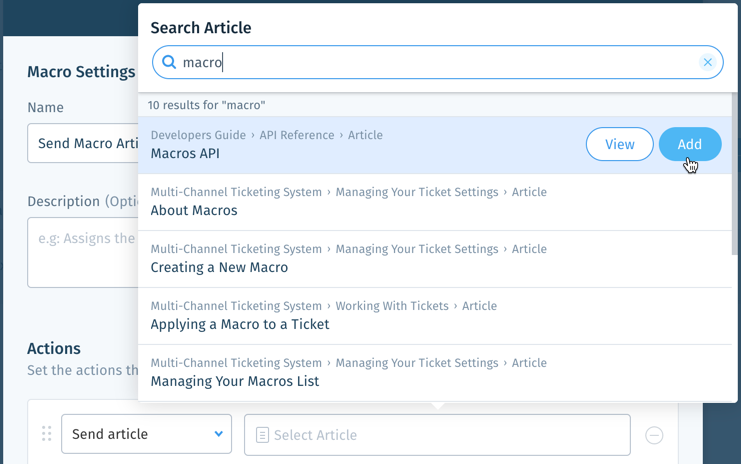
Send article
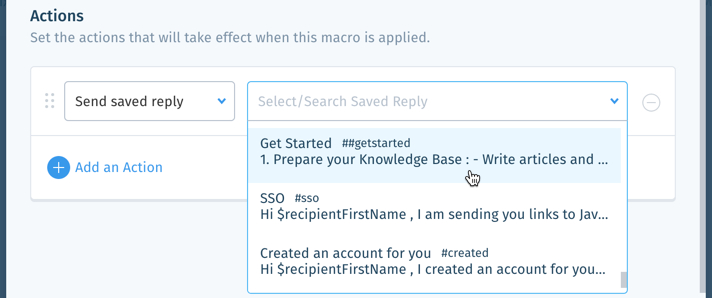
Send saved reply
Send custom reply
 to attach a file or click the Emoji icon
  to add an emoji.
 Link ticket to article

Assign ticket to

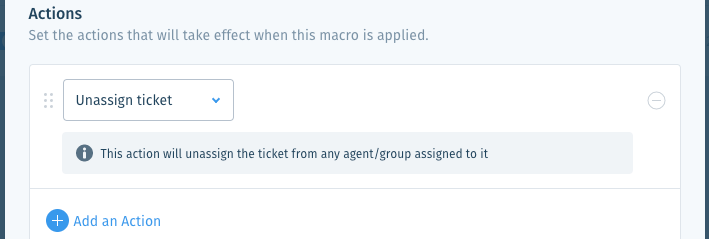
Unassign ticket
Add internal note
 to attach a file or click the Emoji icon
  to add an emoji.
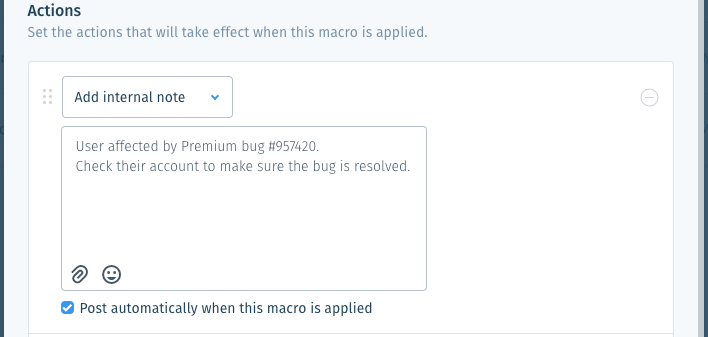
Add CC recipients to ticket

End active session
8. (Optional) Click Add an Action to add another action. Then repeat step 4 above.
9. (Optional) Click and drag the Reorder icon  vertically to reorder your actions.
vertically to reorder your actions. 
10. Click Create.
Note:
Click the Delete icon  to remove an action from your macro.
to remove an action from your macro. Next:
- Learn how to apply macros when working on tickets.
- Learn how to manage your macros.
Was this article helpful?