
Wix Answers Help Center
Creating a New Widget
Allow customers to get help without navigating away from your product or website by creating a new widget. In your Widget, you can choose to display relevant knowledge base articles and a contact form or Live Chat.
Create as many widgets as you'd like and tailor them to specific places where customers need them most.
Create as many widgets as you'd like and tailor them to specific places where customers need them most.
To create a new widget:
- In the Wix Answers app, go to Settings > Support Channels > Widgets.
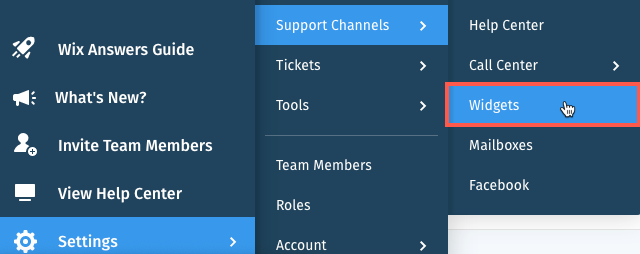
- Click Create New Widget.
Note: If you already have a widget, click the widget name and then click Create new widget. - Enter a name for your widget and click Next.
- Make sure the Toggle icons
 are enabled next to each module you want to appear in your widget:
- Knowledge Base Module: Customers can search and view articles in the widget.
- Messaging Module: Customers can contact you directly through the widget via a contact form or Live Chat.
- (If you've enabled both modules) Select the module you'd like to appear first when customers access the widget.
- Click Next.
- (For multilingual support) Click the Toggle icon next to each language your widget supports.
- Click Create Widget.
- Select an option:
- Click Customize Widget to finish setting up your Widget.
- Click Install on Site to retrieve the code used to embed your widget on your website.
Was this article helpful?