
Wix Answers Help Center
Installing a Multilingual Widget on Your Wix Site
Add a widget to your Wix site that automatically displays in whichever language your site is being viewed in.
Before you begin:
- Your Wix site must be upgraded to a Premium Plan. Learn how
- Use Wix Multilingual to create a site in more than one language. If you don't see subdomains for a secondary language, delete the language and re-add it.
- Your domain must be either purchased from Wix, transferred to Wix, or connected via name servers. These instructions do not apply if you connected your domain via pointing. Learn more
Note:
We've released a new version of the Wix Answers widget. If you don't see the steps below in your widget settings, click here for directions.
Step 1 | Create your widget's embed code
First, create the code you'll use to embed your widget on your Wix site.
- Copy the following code:
1 2 3 4 5 6 7 8 9 10 11 12 13 14 15 16 17 18 19 20 21 22 23 24 25 26 27 28 29 30 31 32 33 34 35<script> (function(){ var w=window; function l(){ var d=document; var aws=d.createElement('script'); aws.type='text/javascript'; aws.async=true; // Array of languages enabled in Wix Answers Widget var supportedLanguages = ['en','fr','es','de','pt','it','ru','pl','zh','da','nl','ja','no','sv','he','ko']; var checkLocale = window.location.host.split('.')[0]; if (supportedLanguages.indexOf(checkLocale) != -1) { var locale = checkLocale; } else { // Default fallback language var locale = 'en'; } aws.src = 'https://{ACCOUNT}.wixanswers.com/apps/widget/v1/{ACCOUNT}/{WIDGET-ID}/' + locale + '/embed.js'; var s=d.getElementsByTagName('script')[0]; s.parentNode.insertBefore(aws,s); } if(w.addEventListener){ w.addEventListener('load',l); }else{ w.attachEvent('onload',l); } w.AnswersWidget = { onLoaded: function(e){ window.AnswersWidget.queue.push(e); }, queue:[] } })() </script>
Important:
If English is not your site's default language, replace en in line 17 with the default language's abbreviation. For example, if your site's default language is French, the line should read: var locale = 'fr';

- Replace {WIDGET-ID} with your widget's ID.
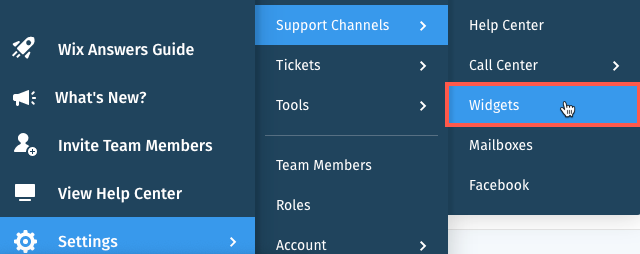
Show me how to get my widget's ID

5. Copy the code you've created in this step so you can paste it in the next step.
Step 2 | Add the code to your Wix site
Next, add the code in your Wix site's Custom Code tab
- In your Wix account, go to Settings in your site's dashboard.
- Scroll down and click Custom Code next to Advanced.
- Click + Add Custom Code at the top right.
- Paste the code snippet in the text field.

- Enter a name for your custom code in the Name field.
- Click Apply.
Note:
Leave All pages - Load code once and Place Code in: Head selected.

- Refresh your live website to view the widget.
Note:
Currently, adding more than one widget per page is not supported by Wix Answers.
Was this article helpful?