
Wix Answers Help Center
Adding Azure as a Login Option
Allow team members to sign in to your company's Wix Answers account via Azure single sign-on (SAML SSO). Wix Answers supports SAML 2.0.

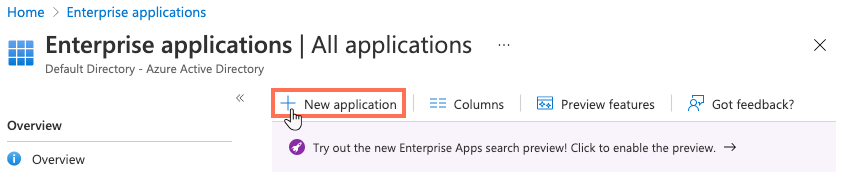
Step 1 | Create a New Application in Azure
In your enterprise's Azure account, create a new application for Wix Answers.
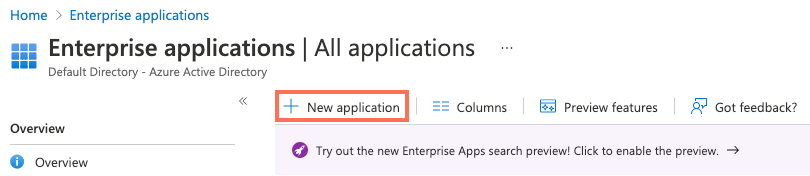
Show me how
 at the top left and select Azure Active Directory.
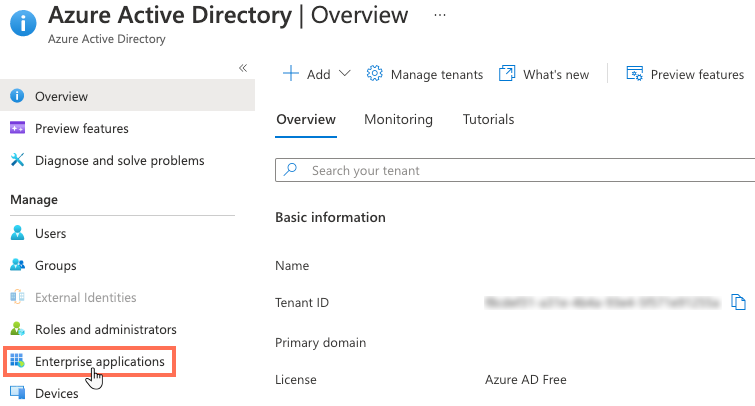
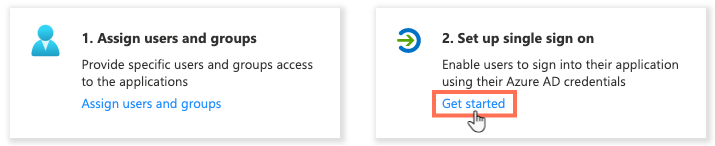
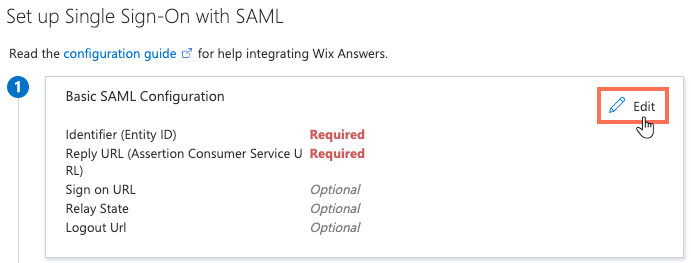
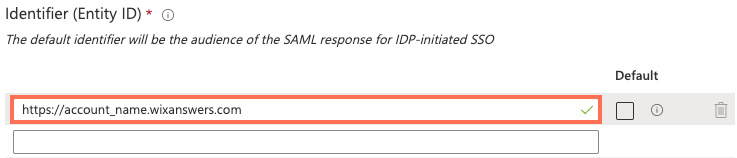
Step 2 | Set Up Single Sign On in Azure
Next, set up your single sign on settings and edit the Basic SAML Configuration.

Show me how


Step 3 | Set Up the User Attributes & Claims in Azure
In the User Attributes & Claims settings, replace the claim names and values so they're compatible with your Wix Answers account.
Show me how


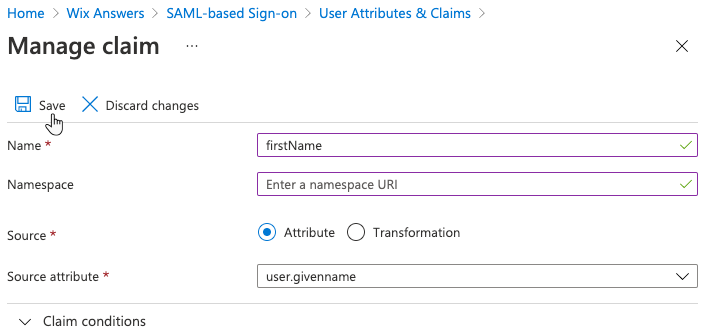
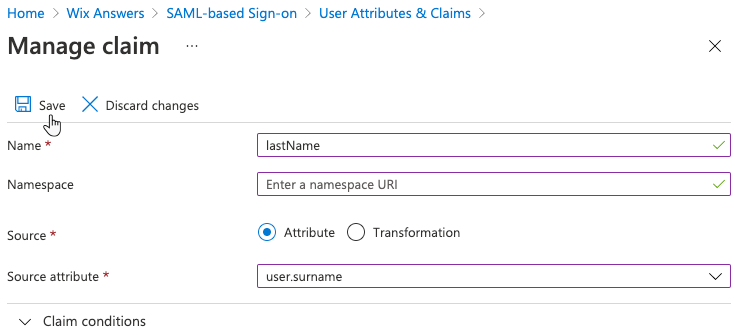

Tip:
Your User Attributes & Claims settings should match the image below once you've configured them correctly.

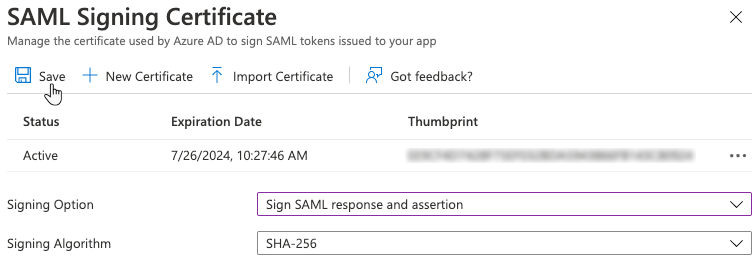
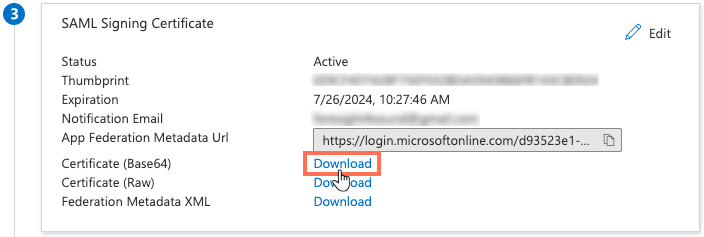
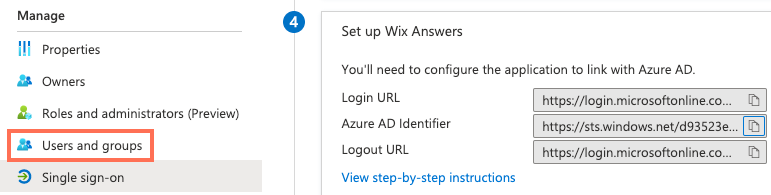
Step 4 | Create the SAML Signing Certificate in Azure
Set up your SAML Signing Certificate in Azure and download it. You'll be pasting this certificate in your Wix Answers account in step 5 below.
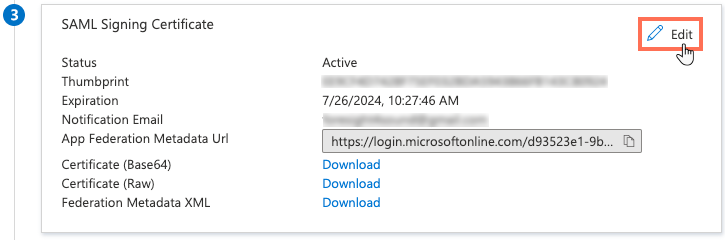
Show me how

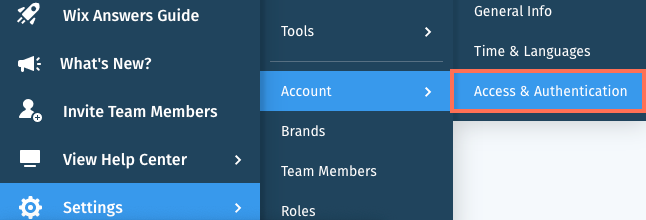
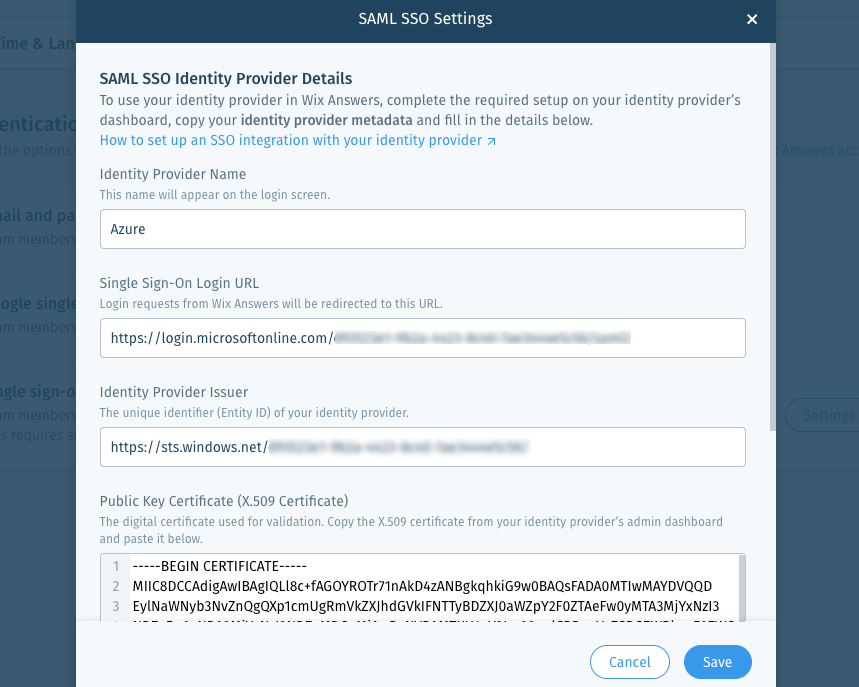
Step 5 | Save the SAML SSO Identity Provider Details in Wix Answers
Next, copy and paste the Azure credentials into the SAML SSO settings in your Wix Answers account.
Show me how


Step 6 | Add Users in Azure
In Azure, add each team member that will be able to use Azure SAML SSO when logging into your Wix Answers account.

Show me how


Note:
Your team members' email addresses in Azure must match their email addresses in Wix Answers for them to login via Azure SAML SSO.
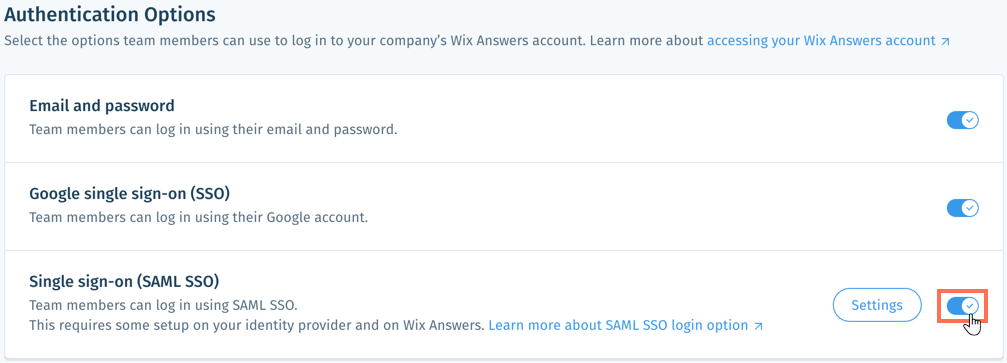
Step 7 | Enable SSO Login in Wix Answers
When you're ready to allow the Azure SSO login option in your Wix Answers account, click the Single sign-on (SAML SSO) toggle. Every team member you've added to the application in Azure should then be able to log into your Wix Answers account via Azure SAML SSO.
Show me how

 to enable Azure as a SSO login option for your Wix Answers account.
 Was this article helpful?