
Wix Answers Help Center
Localizing (Translating) Your Help Center
Wix Answers provides you with all the tools you need to localize (translate) your Help Center content. Add languages any time, then localize your Help Center settings, categories, and articles. When you're ready, enable the languages to make them available to customers around the world.
Note:
We're currently working on releasing new help center settings. If the steps in this article do not match your help center settings, click here for directions.
Tip:
Streamline your translation process with Crowdin, a third party localization management tool.
Step 1 | Add Supported Languages
When signing up for a Wix Answers account, you choose a primary language. You can add more languages at any time. Click here to see the list of languages Wix Answers supports.
Show me how

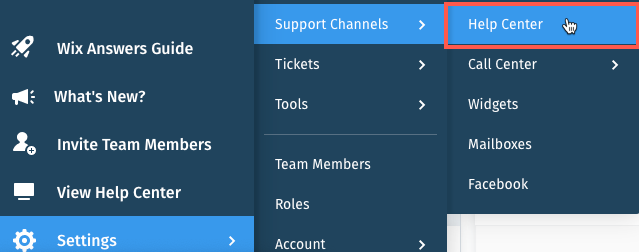
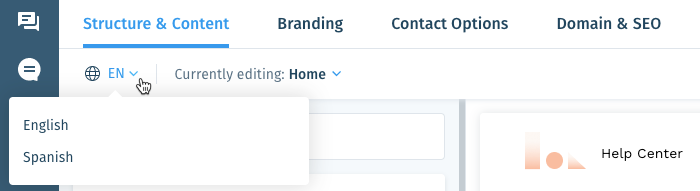
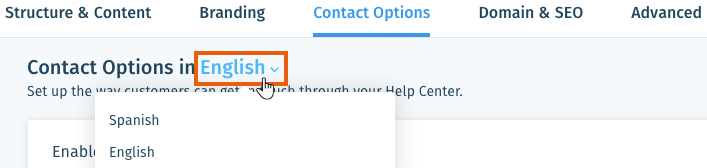
Step 2 | Localize Your Help Center Settings
Once you've added languages to your account, you can start editing each language's Help Center settings. Translate your Help Center from the following settings tabs: Structure & Content, Branding, Contact Options, and Advanced.
Show me how

 next to the relevant language and select Customize Text.
  to locate specific text strings or keys.
 Step 3 | Localize Your Categories
Categories you create in your primary language are automatically added to your localized Knowledge Base. Make sure to localize your categories before publishing your articles.
Show me how
 in the side panel and click Categories.
 .
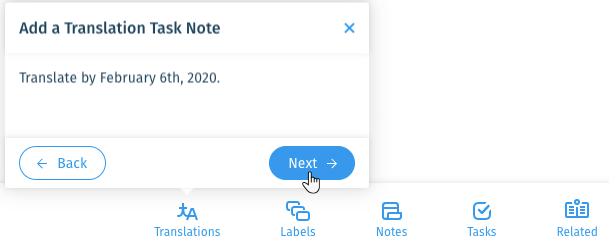
.Step 4 | Localize Your Articles
Wix Answers provides a simple to use system which allows you to create and manage all of your localization tasks.
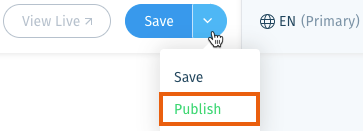
Once an article is ready to be localized you can create a translation task.
Show me how to send translation tasks

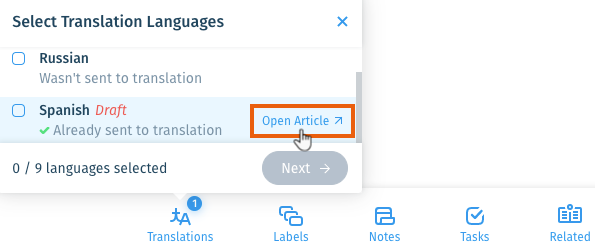
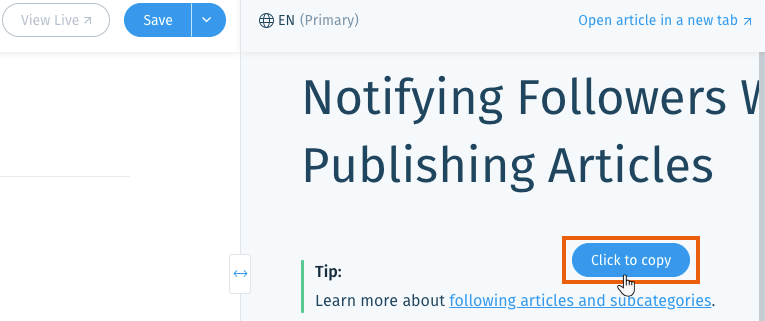
Your translators can then open and localize the article.
Show me how to complete a translation task

 .
. .
. 
Note:
You can send new translation tasks whenever you update articles.
Step 5 | Display the Language in Your Help Center
Enable each language you want to make available in your Help Center from your Advanced tab. New languages are automatically added to your Ticketing System.
Show me how

Was this article helpful?