
Wix Answers Help Center
Creating Internal Articles
Internal articles are hidden from customers but available for agents to link. They're great for tracking topics you'd rather not display in your Help Center or Widgets. You can also provide agents with directions for handling situations on internal articles.
For example:
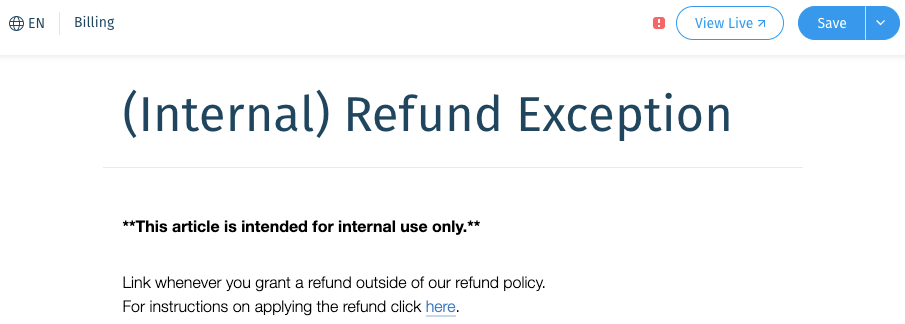
You could create an internal article for tracking refunds granted as compensation. In the article you could list the steps agents should follow to process the refund.
Important:
Do not share internal article URLs (web addresses) with customers. Internal articles cannot be found in your Help Center or Widgets, but can be accessed through direct links.
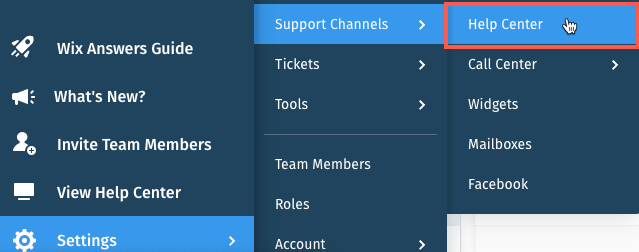
Step 1 | Create a New Article
Create an article with a title that makes it clear to agents that it's internal. We recommend explaining when to link the article and how to handle the situation.
Show me how
 in the side panel.
Step 2 | Add an "Internal" Label to the Article
Create a label to use for all your internal articles, then add it to your article. If you've already created an "internal" label, you can just add it to the article without creating a new label. Later you'll exclude this label from your customer-facing Help Center and Widgets.

Show me how
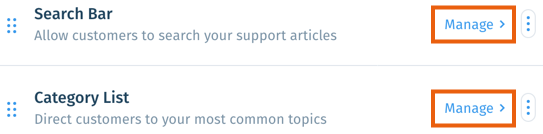
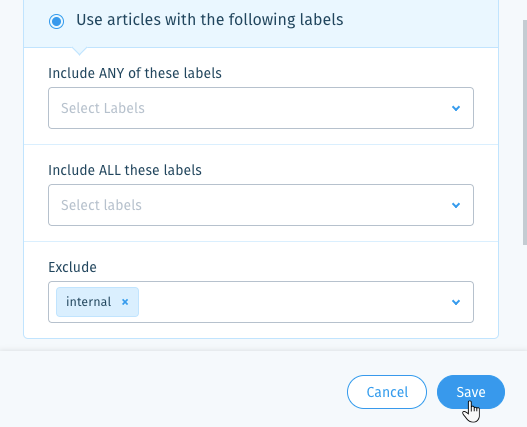
Step 3 | Hide the Label from Your Help Center and Widgets
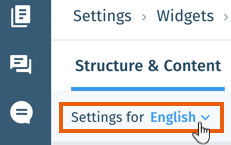
Exclude the "internal" label to hide all articles with the label from your Help Center and Widgets. Make sure to hide the label from each widget you've installed.

Show me how
 next to the relevant language and select Manage Article Visibility.
 , click Edit content visibility.
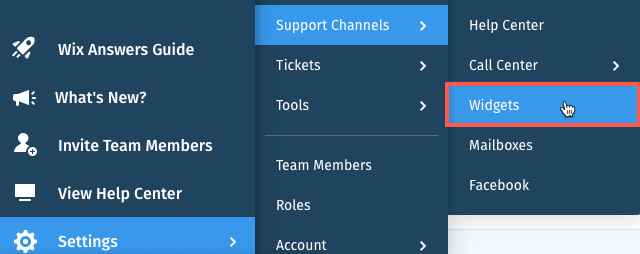

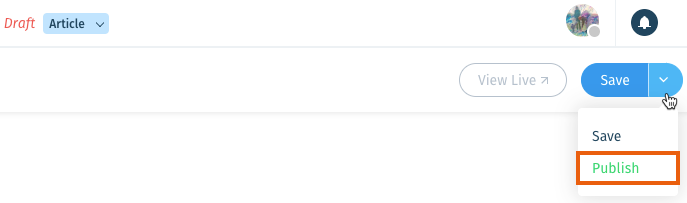
Step 4 | Publish Your Internal Articles
Publish your internal articles once you've completed steps 1 - 3. Agents can then find and link them from the article search field when replying to tickets.
Show me how
Tip:
Learn more about linking articles to tickets.
Was this article helpful?