
Wix Answers Help Center
Setting Account Business Hours in Schedules
Create schedules that define the business hours in which you offer support. In each schedule, you can add planned downtime and holidays in which your team is unavailable.
Then create Automatic Actions that trigger custom actions if you receive tickets outside of these hours. In each of your widgets, you can choose which schedule you want to apply to the widget's contact form, live chat, or phone support.
Note:
Schedules do not automatically apply to your account. Make sure to select them in your widgets' contact options or create Automatic Actions that use the Trigger time condition.
To create a schedule for your support hours:
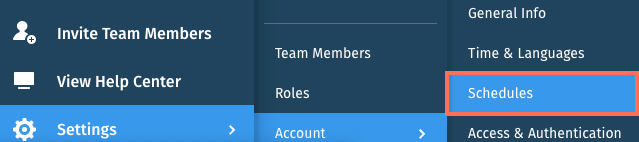
- In the Wix Answers app, go to Settings > Account > Schedules.
Tip:
Click the Show More icon  next to the relevant schedule and select Duplicate to create a new schedule from an existing one.
next to the relevant schedule and select Duplicate to create a new schedule from an existing one. - Click + Add Schedule.
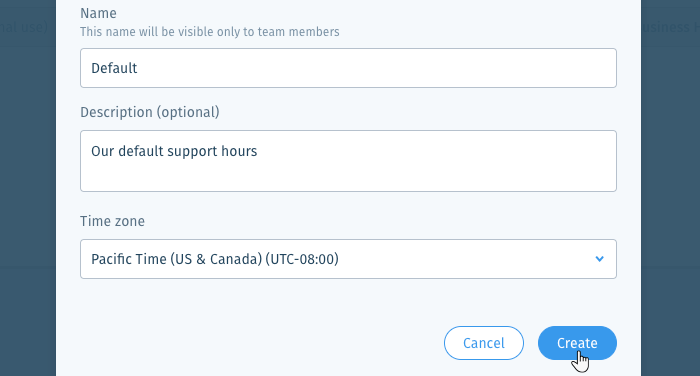
- Enter a name and description for the schedule.
- Click the Time zone drop-down and select the schedule's time zone.
- Click Create.
- Set the Business Hours in which you offer support.
Show me how

 next to each day to enable or disable support for the day.
 next to the relevant day and select Add another period to [Day].
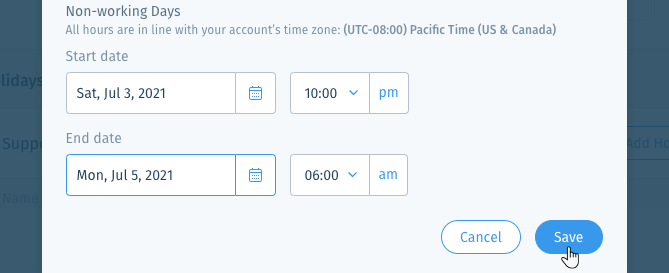
7. (Optional) Add Holidays and Planned Downtime in which support will be unavailable.
Show me how

Notes:
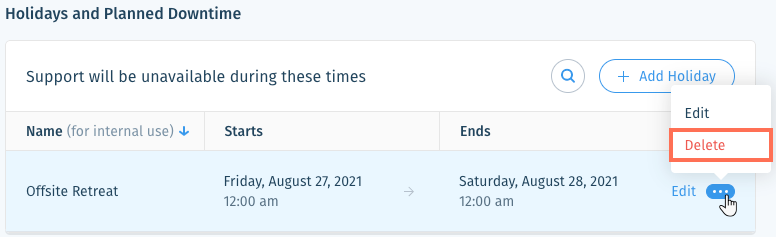
- To delete a schedule, click Delete Schedule at the bottom of the page. You can also go to Settings > Account > Schedules, then click the Show More icon
 next to the relevant schedule and select Delete Schedule.
 - Click Schedule applied in under the Schedule Details to see all the locations where the schedule is in use.

Was this article helpful?