
Wix Answers Help Center
Setting the Business Hours of the Contact Options in Your Widget
Ensure that customers can only contact you from your widget during business hours. For each contact option available in your widget you can define the hours of operation. Choose from 24/7 hours or your own custom schedule.
Note:
We've released a new version of the Wix Answers widget. If you don't see the steps below in your widget settings, click here for directions.
To set the hours of operation for your widget's contact options:
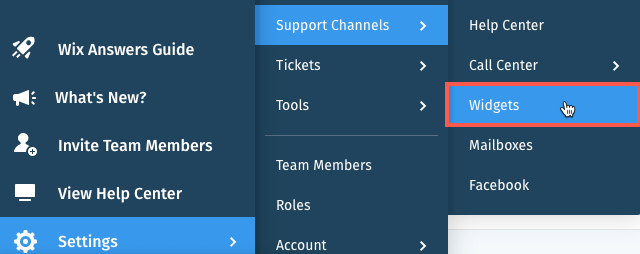
- In the Wix Answers app, go to Settings > Support Channels > Widgets.
- Select the relevant widget.
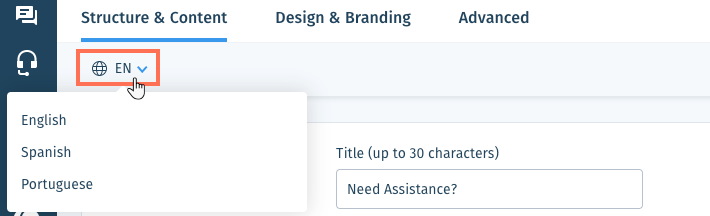
- (For multilingual widgets) Click the Language icon
 and select the relevant language.
- Click Manage next to the relevant contact option.

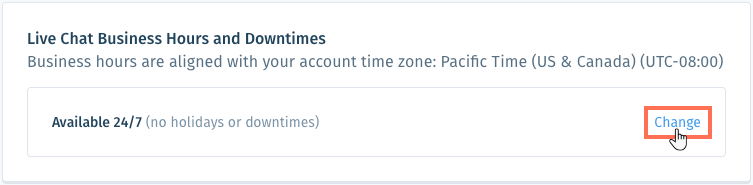
- Scroll down and click Change in the Business Hours and Downtimes section.
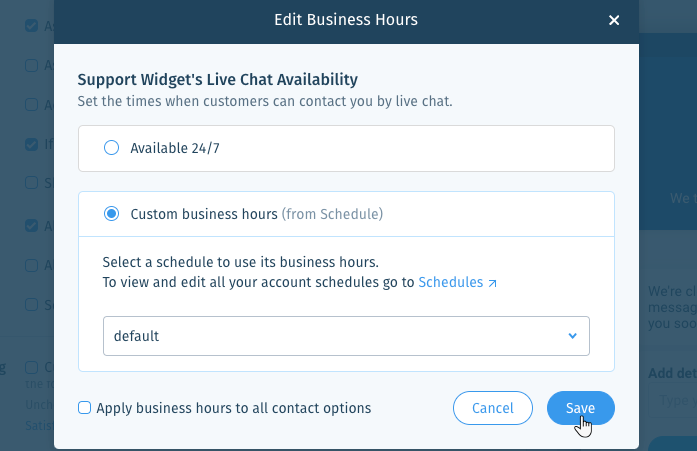
- Set the available hours of operation for your contact option:
- Available 24/7: Keep your contact option open at all hours.
- Custom business hours (from Schedule): Select a schedule from the drop-down to apply its business hours to the widget's contact option.
- (Optional) Click Apply business hours to all contact options if you want to apply these hours to all the contact options in the widget.
Note: This option is not available in the contact form option. - Click Save.
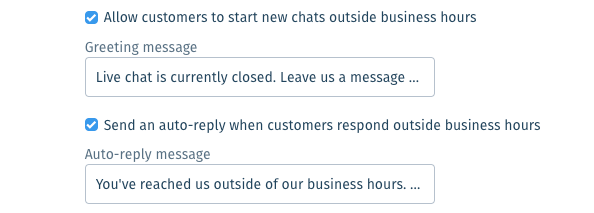
- (Optional for Live Chat) Allow customers to start new chats outside business hours:
Note: When an agent replies, your customer receives the message in Live Chat (if they reopen the widget) and email.- Click Allow customers to start new chats outside business hours.
- Click the Greeting message field and enter the message customers see when they start a new chat outside business hours.
- Scroll up and click Save next to Live Chat Settings.
- (Optional for Live Chat) Auto-reply to chats sent outside business hours:
- Click Send an auto-reply when customers respond outside business hours.
- Click the Auto-reply message field and enter the message customers will receive.
- Scroll up and click Save next to Live Chat Settings.
Was this article helpful?