
Wix Answers Help Center
Adding Parameters for Creating New Tickets and Calls
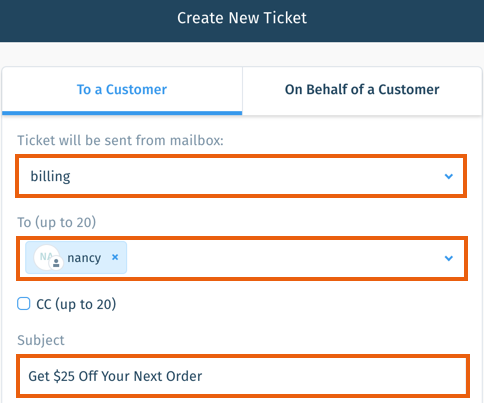
Create starting points for your most common outbound support tickets and calls by adding parameters to your Wix Answers URLs. For example, you could bookmark a URL that opens the Create New Ticket window with the mailbox, subject, and recipient already filled out.
To add parameters for creating new tickets or calls:
- Enter the first part of your URL in your browser address bar:
- For a new ticket: Enter url.wixanswers.com/app/helpdesk/tickets/new-ticket/by-agent replacing "url" with the first part of your Wix Answers URL.
- For a new call: Enter url.wixanswers.com/app/helpdesk/tickets/new-call/by-agent replacing "url" with the first part of your Wix Answers URL.
- Set the ticket's language:
- Type ?locale=en at the end of the URL.
- (If necessary) Replace "en" with the abbreviation of the ticket's language. Click here to see the list of supported languages.

3. Choose the parameters you'd like to add. See the table below:
Parameter Name | Parameter Value | What It Does | Applies To | Example URL Addition |
|---|---|---|---|---|
mailbox | Mailbox ID | Selects the mailbox your ticket is sent from | Tickets | &mailbox=b9fee249-9b8c-4d18-9e9d-56f4fe9df9a2 |
to | Email address | Adds a ticket recipient | Tickets | &to=test@email.com |
subject | Subject text | Adds a ticket subject | Tickets and Calls | &subject=Hot%20Deals |
line | Line ID | Selects the line used to dial the call | Calls | &line=dfbaf3b7-f56f-4681-be72-7ece54b75019 |
phone | Phone number | Adds the phone number you're calling | Calls | &phone=14155555555 |
4. Type & followed by the Parameter Name at the end of the URL (e.g., &subject).

5. Type = followed by the Parameter Value at the end of the URL (e.g., =Hot%20Deals).

Note:
Add spaces in subject text by typing %20 where spaces are needed (e.g., =Hot%20Deals).
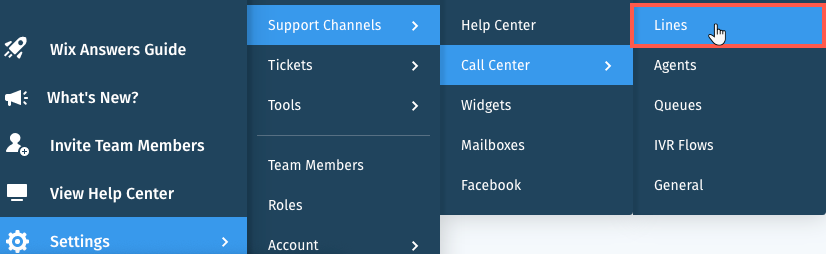
Show me how to find a Mailbox ID or Line ID
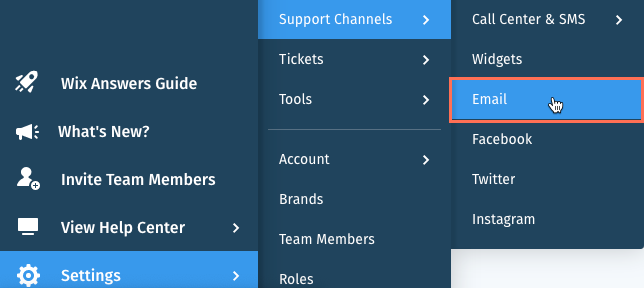
 next to the relevant mailbox and select Edit.

6. Repeat steps 3-5 to add more parameters to your URL.
7. Press Enter on your keyboard to make sure the URL adds your parameters.
8. Bookmark the URL and share it with other agents to improve your entire team's workflow.
7. Press Enter on your keyboard to make sure the URL adds your parameters.
8. Bookmark the URL and share it with other agents to improve your entire team's workflow.
Show me an example URL
Was this article helpful?