
Wix Answers Help Center
Sending an Automated Email When You Receive a New Ticket
With Automatic Actions, you can send automated emails to customers or team members whenever you receive a new ticket. You can also specify the ticket source and add additional conditions that must be met before an automated email is sent.
Need to modify the email customers receive when they submit a ticket?
Wix Answers automatically sends notification emails to customers when they submit tickets. Modify these notifications from your Email Templates settings. Learn More
To send an automated email when a ticket is received:
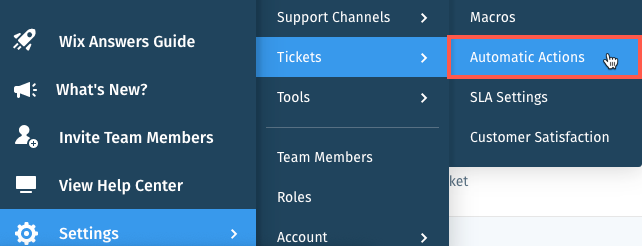
- In the Wix Answers app, go to Settings > Tickets > Automatic Actions.
- Click + Create New Action.
Note: (If creating your 1st Automatic Action) Click Start Now then click Create New Action. - Enter the Name and Description (optional) for the action.
- Click the toggle
 next to A new ticket is created under Apply action when.

- Set the conditions in the Apply action if section:
- Click the Select a condition drop-down under Any of these conditions occur and select Ticket source.
- Click the Is drop-down and select Is or Is not.
- Click the Web drop-down select a ticket source (Web, Facebook, Twitter, Instagram, Chat, Email, Widget, API, Phone, SMS, or WhatsApp).
- (If you selected Facebook, Twitter, Email, Widget, Phone, or WhatsApp) Select the specific Page, account, mailbox, widget, or line from the next drop-down.
- (Optional) Click Add another condition to add a condition and repeat the steps above.

- Select an action under Action to take:
- Click the Select an action drop-down under Action to take and select Send an email.
- Click the To drop-down and select the recipient(s) of the email:
- Ticket owner: The customer who created the ticket or had it sent to them on their behalf.
- Associated company's account manager: The account manager of the ticket owner's associated company. If there is no associated company or account manager, the email will not be sent.
- Specific agents: The team member(s) set in the Search for agent drop-down.
- Specific groups: The group(s) set in the Search for group drop-down.
- Specific email addresses: The mailbox(es) set in the Add emails here field.
- All admins: All team members with the Administrator role.
- All agents: All team members with the Agent role.
- All admins & agents: All team members with the Administrator or Agent roles.
- Enter the Email subject and Email body.
Tip: Click the Placeholder icon(s) to insert dynamic placeholders.
 - (Optional) Click Add Another Action to set up multiple actions to take.

- Click Save.
In the example above:
When a new ticket is created from the "DashboardSmart" widget, an automated email is sent to the account manager of the customer's associated company.
Was this article helpful?