
Wix Answers Help Center
Creating an Outbound SMS Ticket
Send outbound SMS tickets to reach customers via text messages on their mobile phones. Customers must have wireless plans that allow text messaging to receive your SMS messages.
Important:
To create SMS tickets, you must be an administrator or agent, or have a custom role with SMS tickets enabled in the Tickets > Create new tickets permissions.
Before you begin:
Make sure you've added SMS to at least one of your call center lines.
To create a new SMS ticket:
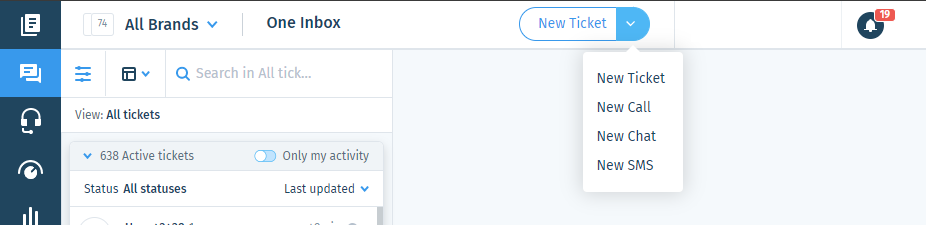
- Click the One Inbox icon
 in the side panel on the left.
 - Click the New Ticket drop-down at the top bar and select New SMS.
Note:
You can also access the New ticket drop-down from:
- Click the 1st drop-down and select the line that will send the message.
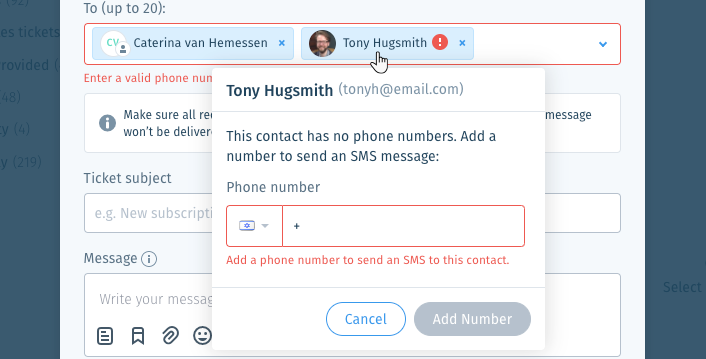
Note: If you don't see the line you want to use, make sure you've added SMS to it. - Click the To (up to 20) drop-down and enter the name(s) or phone number(s) of the recipient(s), then select them from the list.
Note:
- After selecting a recipient, click their name to add a phone number or choose a different one.
- To add a phone number to a contact, you must be an administrator or have a custom role with Create, edit, and ban customers enabled in the Contacts > Manage Customers permissions.
- Enter the Ticket subject.
- Click the Message field and enter the message you're sending.
When sending SMS messages:
- Bold, italic, and list formatting options are disabled. Formatting is also removed from saved replies and pasted text.
- You can add links to articles but you cannot insert article content due to formatting restrictions.
- Attachments display as links that start with: https://wix.to/
- We do not recommend including emojis in your reply as this can cause your customer's mobile carrier to block the message.
- (Optional) Click Additional Actions to assign the ticket to a team member, set its priority, or add labels.
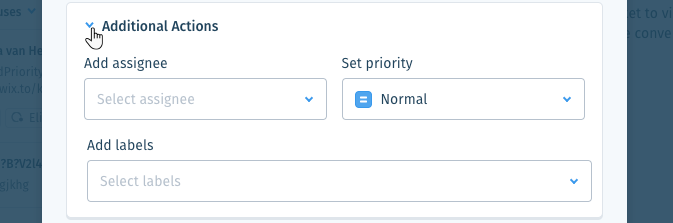
Show me how
8. When ready, click Send.
Was this article helpful?