
Wix Answers Help Center
Adding Labels to Tickets Using Automatic Actions
Labels can help you identify and categorize tickets. Use rule-based Automatic Actions to add labels to tickets that meet conditions you define.
Tips:
- Create custom Views on your ticket lists that display tickets based on their labels.
- You can also use several Spotter Scenarios to automatically add labels to tickets.
To add labels to tickets using Automatic Actions:
- In the Wix Answers app, go to Settings > Tickets > Automatic Actions.

- Click + Create New Action.
Note: (If creating your 1st Automatic Action) Click Start Now then click Create New Action. - Enter the Name and Description (optional) for the action.
- Click the toggle(s)
 to set the Apply action when trigger:
- A new ticket is created: Apply the action when a new ticket is created.
- A user replies to a ticket: Apply the action when a customer replies to their ticket.
Note: This trigger works only for customer replies sent via email or Facebook. - A team member replies to a ticket: Apply the action when a team member replies to a ticket.
Note: This trigger works only when replying to a singe ticket, via email or Facebook.

- Set the Apply action if condition(s) from the relevant drop-down menu(s):
- ANY of these conditions occur: Apply the action if any of the conditions are met.
- ALL of these conditions occur: Apply the action if all of the conditions are met.
Tell me more
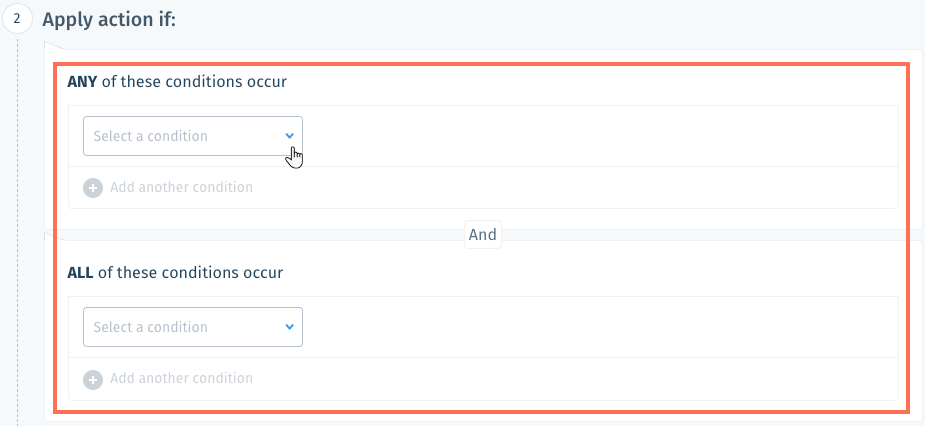
6. (Optional) Click Add another condition to add another condition to the action.
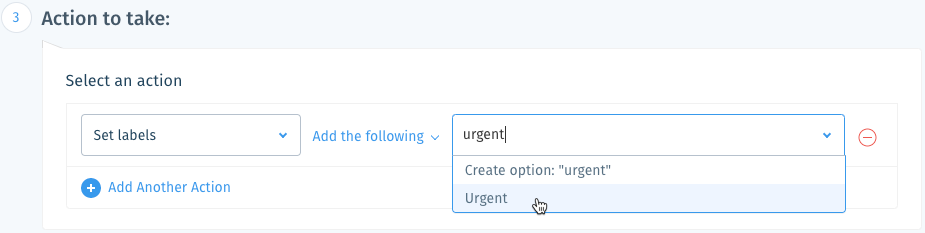
7. Click the drop-down under Select an action and select Set labels.
8. Click the Select labels field, enter the label you want to add and select it from the list.
9. Click Save.
Was this article helpful?