
Wix Answers Help Center
Spotter Scenario: Monitor Customer Satisfaction
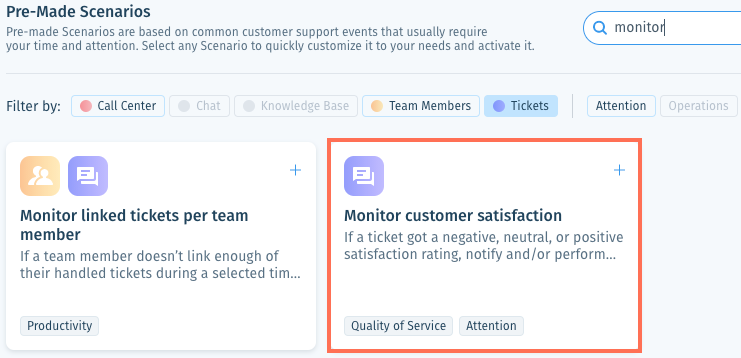
Use the "Monitor customer satisfaction" Spotter Scenario to apply actions to tickets based on their customer satisfaction survey responses. You can add other ticket based conditions and choose from several actions that will occur.
Tip:
Show a custom response in the satisfaction survey according to the customer's rating. Learn more about sending customer satisfaction surveys.
Roles and permissions:
To access Spotter, you must be an administrator or have a custom role with Spotter enabled in the Settings > Tools permissions.
To activate this Scenario:
- Click the Spotter icon
 in the side panel on the left.
 - Click the Pre-Made Scenarios tab at the bottom to expand it.
- Select the Monitor customer satisfaction Scenario.
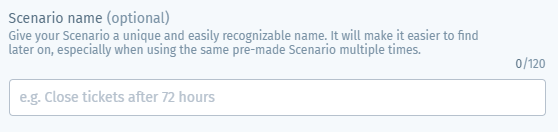
- (Optional) Enter a name, up to 120 characters, for the scenario. This makes the scenario easier to find, especially when using the same pre-made scenario multiple times.
- Set the If condition that, when met, will trigger the Then action(s):
- Click negative in the If condition and select the satisfaction survey response that will apply to this Scenario (Positive, Neutral, or Negative).

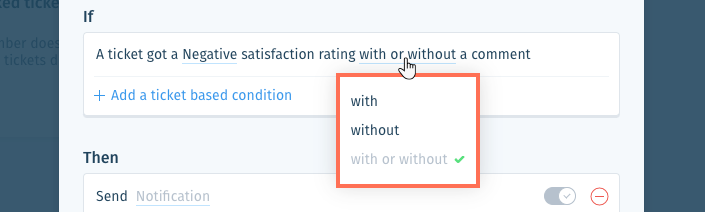
- Click with or without in the If condition and select an option:
- with: Trigger the Then action(s) when satisfaction survey responses include comments.
- without: Trigger the Then action(s) when satisfaction survey responses do not include comments.
- with or without: Trigger the Then action(s) when satisfaction survey responses either do or do not include comments.
- Click negative in the If condition and select the satisfaction survey response that will apply to this Scenario (Positive, Neutral, or Negative).
- (Optional) Click + Add a ticket based condition to add a condition that must also be met to trigger the Then action(s). Select the condition type and repeat this step if necessary:
Priority
 .
.Mailbox
 .
.Channel
 .
.Ticket company
 to confirm your selection.
 .
.Labels
 .
.Language
 .
.Custom field value
 .
.7. Set the Then action(s) that will occur when the If condition is met:
Send notification
 at the bottom of the list.
 at the bottom of the list.
 to preview the notification.
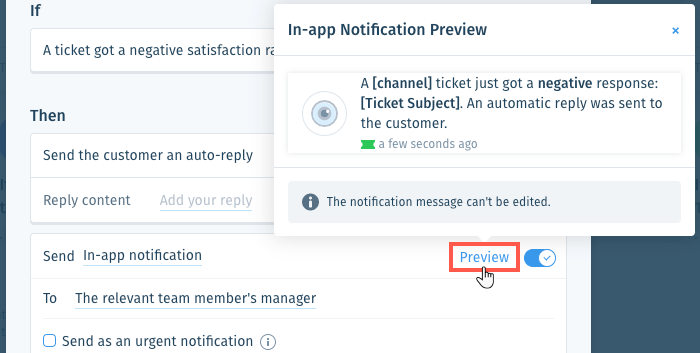
8. (Optional) Click + Add Action and select another Then action that will occur:
Add internal note
 to enable it.
 Send auto-reply to customer
 to enable it:
 at the bottom of the field or press Enter on your keyboard.
Set ticket status
 to enable it.
 Assign ticket
 to enable it.
 or press Enter on your keyboard.
Set ticket labels
 to enable it.
  .
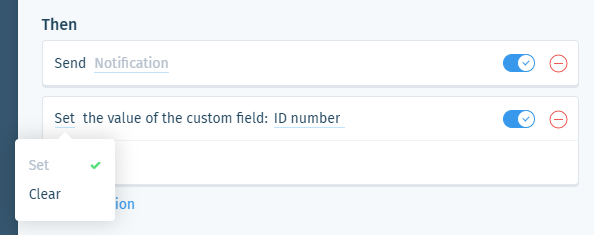
.Set or clear custom field
9. Click Save & Activate.
Was this article helpful?