
Wix Answers Help Center
Viewing Tickets by SLA Policy Time Targets
Add the "SLA" filter to Views to show tickets with or without SLA policies. Choose from several options to show tickets by response or resolution time target ranges. Set active target filters to show tickets with unmet targets, or set closed target filters to show tickets with completed targets.
Tip:
Sort your ticket lists by Closest response SLA breach to show tickets that are closest to missing their SLA targets at the top.
Note:
Adding the SLA filter delays some real-time updates to the ticket lists by 30-60 seconds.
To add the SLA filter to your ticket lists:
- Click the One Inbox icon
 in the side panel on the left.
 - (If you have multiple brands) Click the Brand drop-down at the top left and select the relevant brand(s).
- (Optional) Click the Language icon
 and select a language to show its Views and tickets.

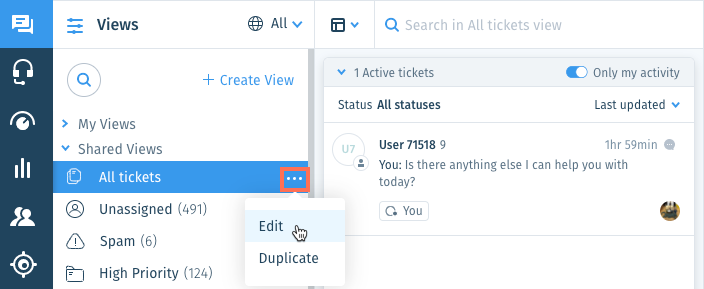
- Select the View you'd like to edit from the Views panel on the left.
Note:
In the My Tickets, Taken by Me, and My Snoozed Tickets Views, you can filter the ticket lists by status, but you cannot add other filters.
- Click the Show More icon
 next to the View name and select Edit.
- Click + Add Filter from the Views panel on the left.
- Scroll down and select SLA under Ticket filters.

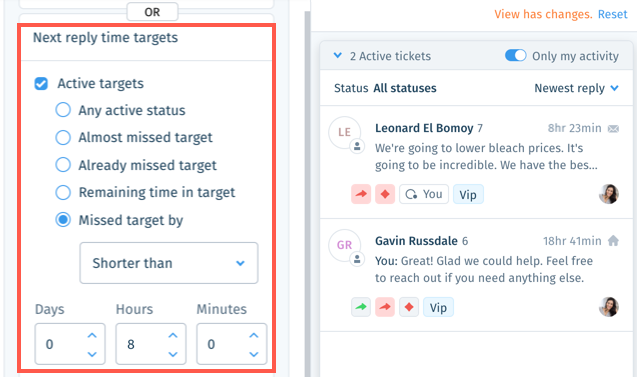
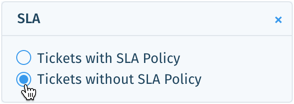
- Choose your SLA filter option(s):
First reply time targets

Next reply time targets
Resolution time targets

Tickets without SLA Policy
8. (Optional) Save the View for other team members to use.
Note:
To save Views, you must be an administrator or have a custom role with Create, update, and delete views enabled in the Ticket List & Saved Replies permissions.
Was this article helpful?