
Wix Answers Help Center
Replying to a Ticket
Reply to tickets using Knowledge Base articles, saved replies, rich text, attachments, and more. You can also CC (Carbon Copy) additional email addresses, manage your own reply settings, and change the status of a ticket with your reply.
Note:
We're currently working on releasing a new version of the Ticket Page. If the steps below do not match what you see on your screen, contact us for help.
To reply to a ticket:
- Go to the relevant ticket.
Show me how
 in the side panel.
 and select a language to show its Views and tickets.
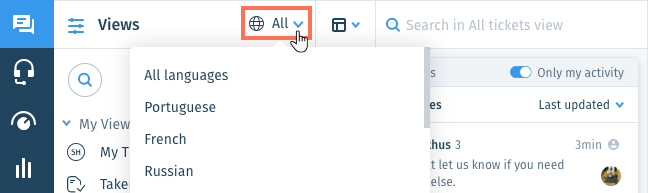

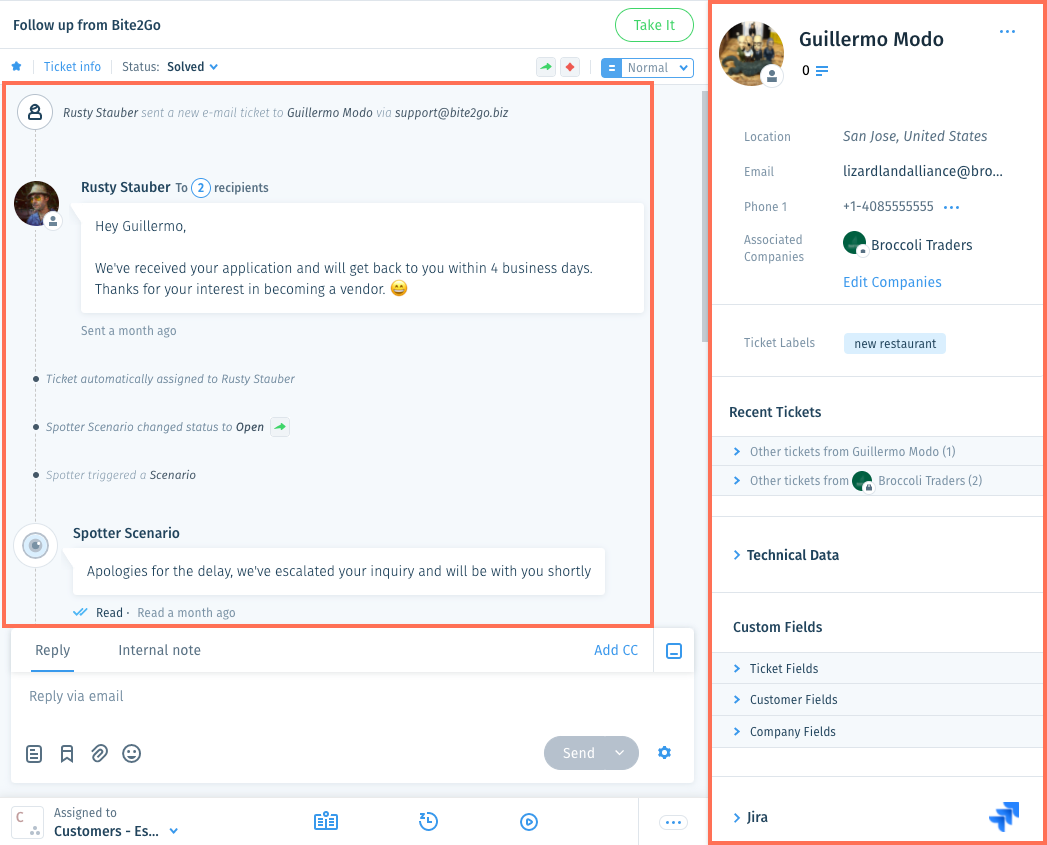
2. Review the ticket timeline and customer Info panel for details.
3. Click the Reply field at the bottom of the ticket panel and create your reply.
Show me how
 to make your text bold (or press Ctrl + B).
 to italicize your text (or press Ctrl + I).
 to hyperlink your text (or press Ctrl + K). Paste the URL of the link or search for an article and select it, then click Insert Link.
 to format as a bulleted list.
  to format as a numbered list.
 to use articles.
  to insert a saved reply.
  , then select a file from your computer and click Open. See
  and select an emoji.
  to add or remove your signature.
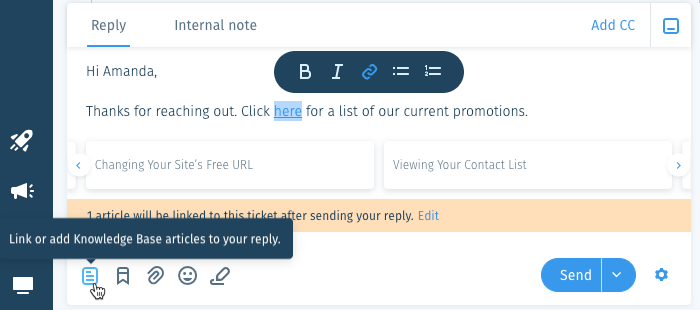
 at the top right of the Reply field to collapse it if you need to view more of the ticket timeline. Click the icon again to maximize the Reply field.
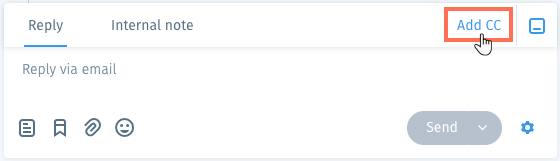
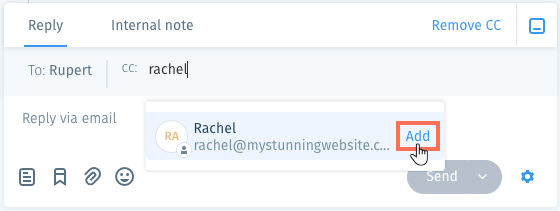
 4. (Optional) Add CC (Carbon Copy) recipients to the ticket.
Show me how
5. (Optional) Click the Reply Settings icon  to manage your reply settings.
to manage your reply settings. 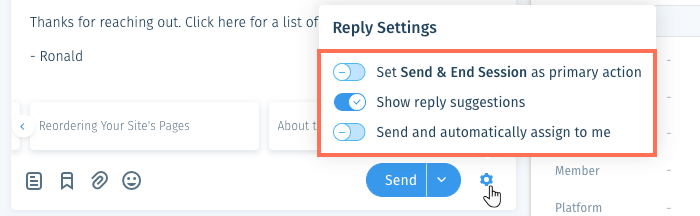
Tell me more
 next to each setting you want to enable:
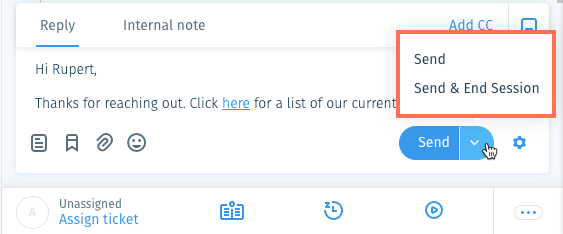
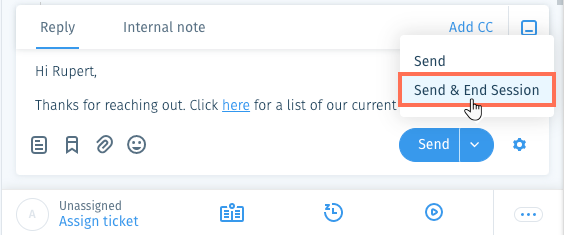
6. Choose your reply action from the Send button.
Show me how
 .
. 
 on the right, and select Edit text.
7. Leave or end the active session once you're done working on the ticket.
Notes:
- Leaving or ending the session removes the ticket from your screen and takes you back to the ticket list(s). We recommend completing all necessary actions on the ticket before ending the session.
- In the Split Pane layout, if you're the only team member in an active session on a Pending ticket and you select another ticket, a "Done With This Ticket?" message appears. Choose an option:
- No, Keep Session: Keep the session active and remain active in it.
- Yes, End Session: End the session. The ticket becomes inactive and remains in the Pending status.

Was this article helpful?