
Wix Answers Help Center
Adding Filters to Views in One Inbox
Use filters to create custom Views in One Inbox that display tickets based on conditions you define. Choose from ticket, agent, call, or custom field filters to tailor your ticket lists for you and your team.
Changes you make to Views are saved to your profile automatically, so the next time you access them, your changes remain in place. You can reset Views to revert them to their last saved versions and save Views so other team members can use them.
The following filters delay some real-time updates to the ticket lists by 30-60 seconds:
- Call filters
- Custom fields
- Related to Article/Category
- Received from / Sent to
- SLA
To add a filter to a View in One Inbox:

Note:
In the My Tickets, Taken by Me, and My Snoozed Tickets Views, you can filter the ticket lists by status and sort them, but you cannot add other filters.
- Click + Add Filter on the left.

- Choose the filter you'd like to add:
Tip: Enter the name of the filter you want to add in the Search field to find it faster.
- Ticket filters: Show or hide tickets based on various ticket-related conditions.
Brand

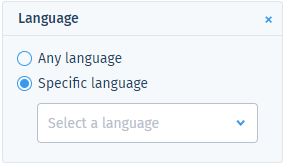
Language
Priority

Labels

Source
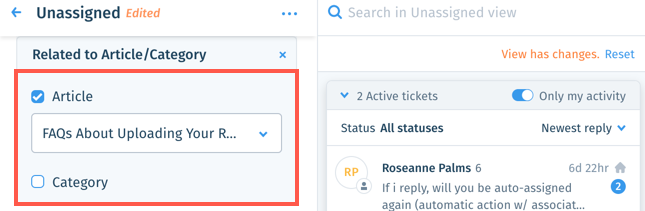
Related to Article/Category
Countries

Date Created/Updated
 and select a date range.
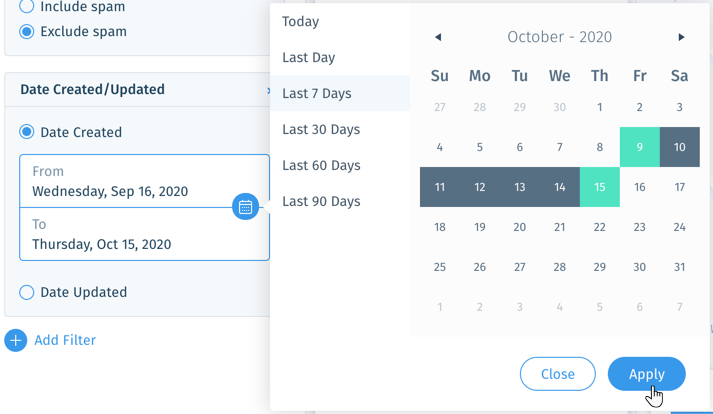
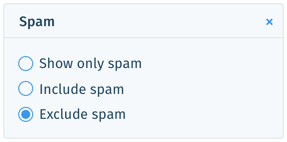
Spam
SLA

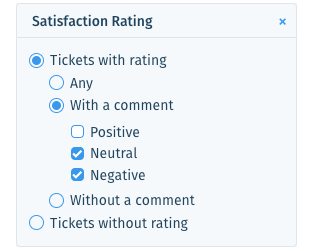
Satisfaction Rating
Received from / Sent to

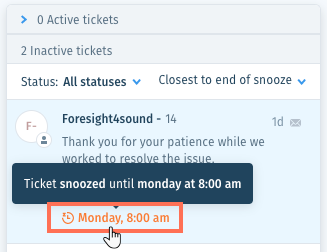
Snoozed Tickets

Chat Status
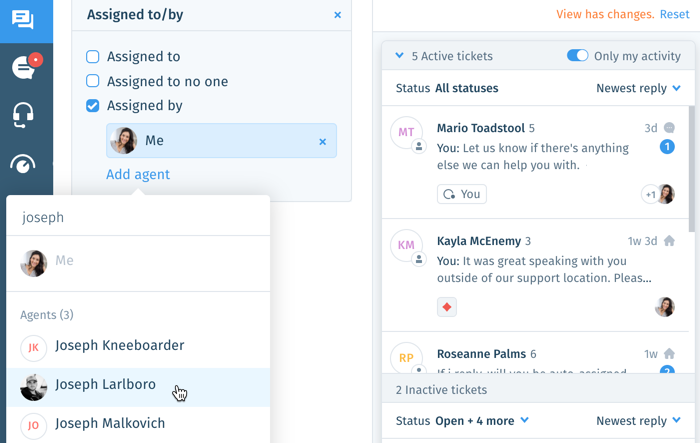
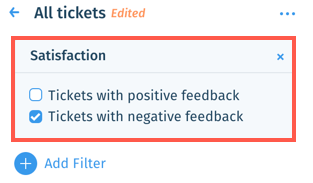
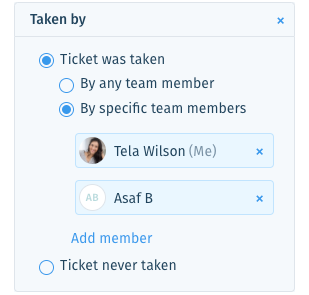
- Agent filters: View tickets by their assigned agents, replying agents, active agents, and more.
Assigned to/by
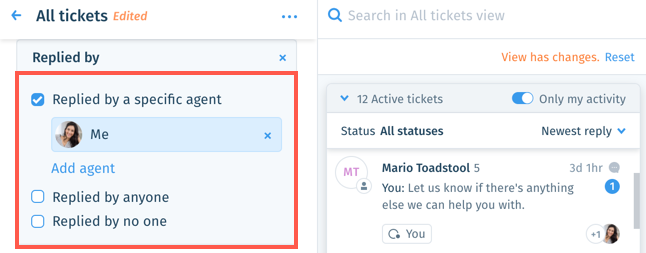
Replied by
Satisfaction
Taken by
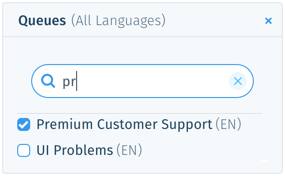
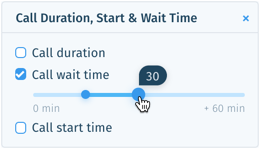
- Call filters: Show or hide call center tickets by queue, line, status, and more.
Note: Adding call filters delay some real-time updates to the ticket lists by 30-60 seconds.
Queues
Lines

Call status

Call handled by

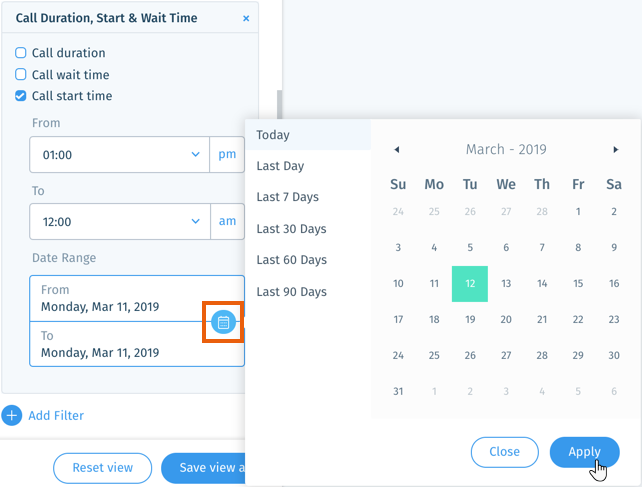
Call Duration, Start & Wait Time

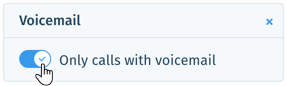
Voicemail
 .
.
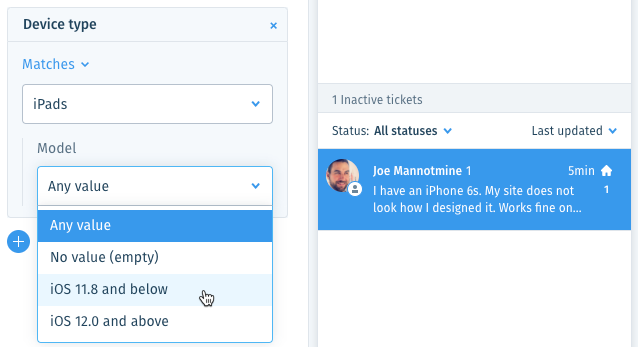
- Custom fields: Show or hide tickets by the values set in their custom fields.
Note: Adding custom field filters delay some real-time updates to the ticket lists.
Show me how
4. (Optional) Add list sorting to the View.
Show me how
 before saving.
 at the top-right of the relevant ticket list and select a sorting option:
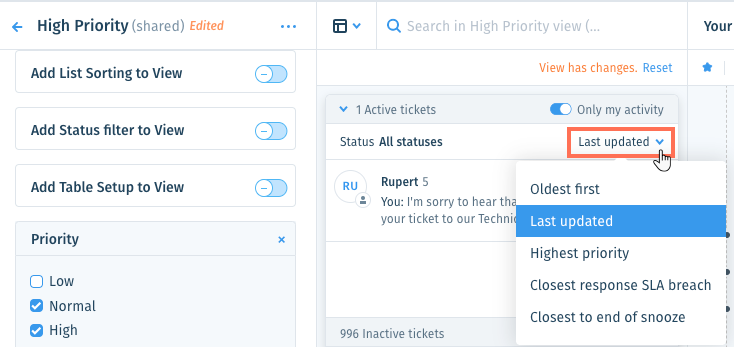
 on the left.
 5. (Optional) Add a status filter to the View.
Show me how
 before saving.
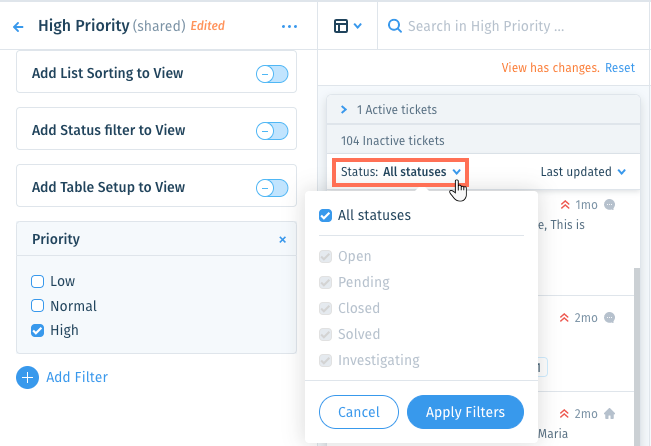
 on the left.
6. (Optional) Add the table setup to the View.
Show me how
 before saving.
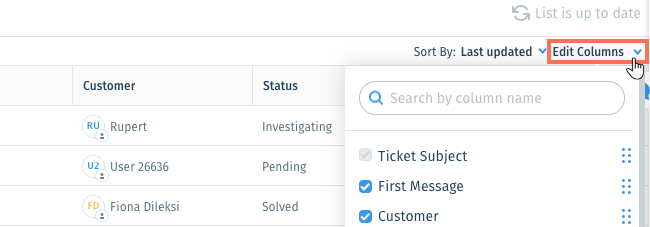
 up or down to reorder the columns.
  on the left.
7. (Optional) Save the View.
Show me how

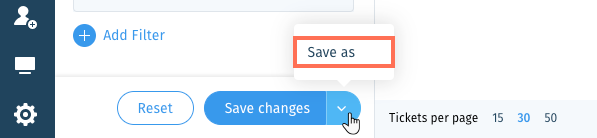
 to make it a private View that can only be accessed by you.
Tip:
Click the X icon  at the top right of a filter to remove it.
at the top right of a filter to remove it. Additional actions: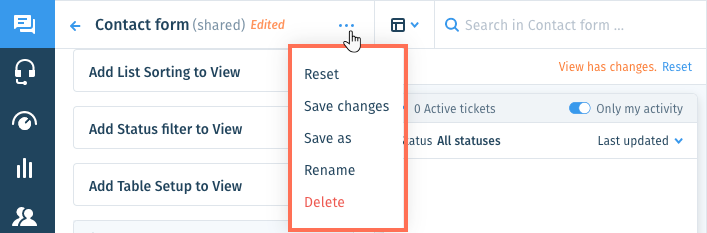
Click the Show More icon  at the top of the Views panel and select:
at the top of the Views panel and select:- Reset: (If you've edited the View but haven't saved changes) Revert the View to its last saved version.
- Rename: Change the name of the View. This option is available for custom Views only, not default Views.
- Delete: Permanently remove the View for all team members. This option is available for custom Views only, not default Views.
Was this article helpful?