
Wix Answers Help Center
Creating a Feature Request Article
Create Feature Request articles to inform and update customers about features you don't yet offer. Customers become followers when they vote or have their ticket linked to the article by an agent. You can then update the article's status to automatically notify followers.
Before you begin:
Check out our best practices for creating Feature Requests.
To create a Feature Request article:
- Click the Knowledge Base icon
 in the side panel.
 - Click + New Article at the top right.
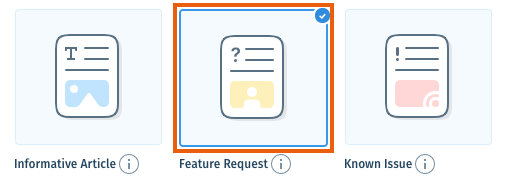
- Select Feature Request.
- Click the Feature Request Status drop-down and select a status:
- Collecting votes: Let customers know you're collecting votes for the feature.
- Working on it: Let customers know you're developing the feature.
- Coming soon: Let customers know that you're almost ready to release the feature.
- Available: Let customers know that you've released the feature.
Tip: We recommend including a link on the article to direct customers to get started with the new feature.
- (Optional) Select a category for your article from the Category drop-down.
Note: An article must be in a category before you can publish it. You can move it to a category later. - Click Create Article.
- Enter the title of the article in the Title field.
Tip:
Save your work early and often by clicking Save in the top right.
- Click the Write something field and enter content for the article.
- Add as many content blocks to the article as you'd like.
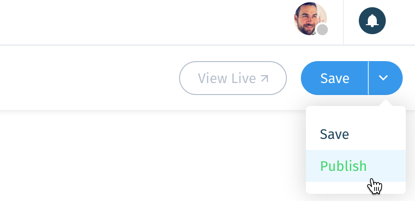
- Click Save at the top right.
- When you're ready, click the Save drop-down and select Publish.
- (Optional) Select publishing options:
- Notify followers: Send an automatic notification to followers of the article. Learn More
- Update URL: Update the live article's URL (if you've changed the title of the article).
Note: The old article URL will redirect to the new URL.
- Click Publish Article.
Next:
- Learn how to update a Feature Request's status to inform followers of your progress.
- Learn how to view an article's stats to check how many votes it has.
Was this article helpful?