
Wix Answers Help Center
Creating Categories and Subcategories in Your Help Center
All your published articles exist within your help center's categories and subcategories. Create your categories and subcategories in a structured, organized way so customers and team members can easily find what they're looking for.
Tip:
New categories and subcategories appear in your help center's primary language as soon as you create them. You can hide them until they're ready to be viewed from your help center settings.
Multilingual help centers:
- You must create categories and subcategories in your account's primary language. Creating them in your account's primary language automatically creates them in all your supported languages. You can then rename your categories and subcategories for each language.
- Categories and subcategories in your account's secondary languages do not appear in your help center until they contain published articles.
Important:
To create categories and subcategories, you must be an administrator or have a custom role with Create, edit and delete categories and subcategories enabled in the Knowledge Base permissions.
Personalize your help center by displaying images for each of your categories. You can display category images in your help center's home page, category list page, and category list section.

Creating a Category
Add your help center's main categories that can contain articles, or subcategories.
- Hover over the Knowledge Base icon
 in the side panel and click Categories.
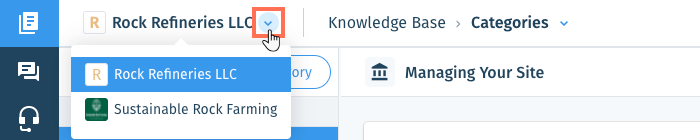
 - (If you have multiple brands) Click the Brand drop-down at the top left and select the relevant brand.
- Click + Add New Category.
- Enter the name of the category and click Create.
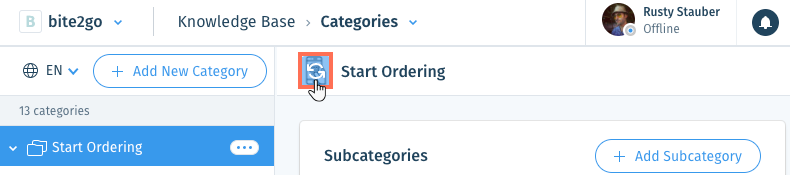
- (Optional) To add a category image:
- Click the category image next to the category name at the top of the page.
- Click Upload new image.
- Select an image file from your computer and click Open.
Note: We recommend uploading SVG files. You can also upload JPG or PNG files that are at least 130 x 130 pixels.
- Click the category image next to the category name at the top of the page.
To reorder your categories:
Hover over a category, click the Reorder icon  , and drag it up or down on the list.
, and drag it up or down on the list. Adding a Subcategory
Add subcategories to break up main categories into smaller subsections.
- Hover over the Knowledge Base icon in the side panel and click Categories.
- (If you have multiple brands) Click the Brand drop-down at the top left and select the relevant brand.
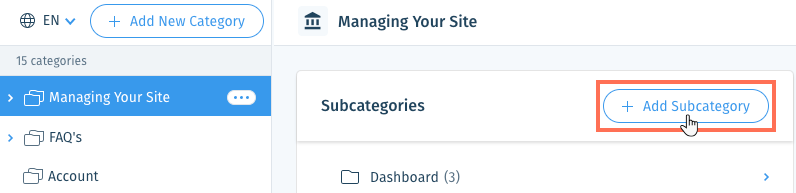
- Select the category you're adding a subcategory to on the left.
Note:
You can only add subcategories to categories that do not have articles. If you want to add a subcategory to a category that has articles, delete or move the articles to other categories.
- Click + Add Subcategory on the right.
- Enter a name for the subcategory and click Create Subcategory.
To reorder your subcategories:
Hover over a subcategory, click the Reorder icon , and drag it up or down on the list.
, and drag it up or down on the list. Was this article helpful?